
Here is my salute to pop culture. Call it sleep deprivation, but I couldn't resist using this title. A friend recently asked me when I sleep. "Sleep?" I responded. "What is this mystical word you speak of?" I have a 10 month old that just recently started sleeping through the night and a two year old that drains me of energy daily. I don't think a good night of restful sleep will be within my grasp for several more years. I figure if I'm not going to sleep anytime soon, I might as well be productive. Besides, after I tuck them into bed and kiss their sweet faces goodnight, it's my time to decompress and relax. That's where this blog and the projects it contains come into play. Although event planning can be a source of anxiety for many people, I truly enjoy all the planning, crafting, and decorating that make up this blog.
Tonight, I relaxed with some card stock and a glass of wine to create this little cutie. The only anxiety I have is trying to decide if I want to use this precious fox juice box for a Valentine's Day party or a winter play date.

Materials:
Card stock (orange, white, and black) I used fuzzy white card stock for his stomach and tail.
Wiggly eyes
Tape
Glue
Ruler
Pencil
Juice box
Step 3: Cut out rectangle.
read more "Fox Treats: What Does a Fox Say? "
Tonight, I relaxed with some card stock and a glass of wine to create this little cutie. The only anxiety I have is trying to decide if I want to use this precious fox juice box for a Valentine's Day party or a winter play date.
Card stock (orange, white, and black) I used fuzzy white card stock for his stomach and tail.
Wiggly eyes
Tape
Glue
Ruler
Pencil
Juice box
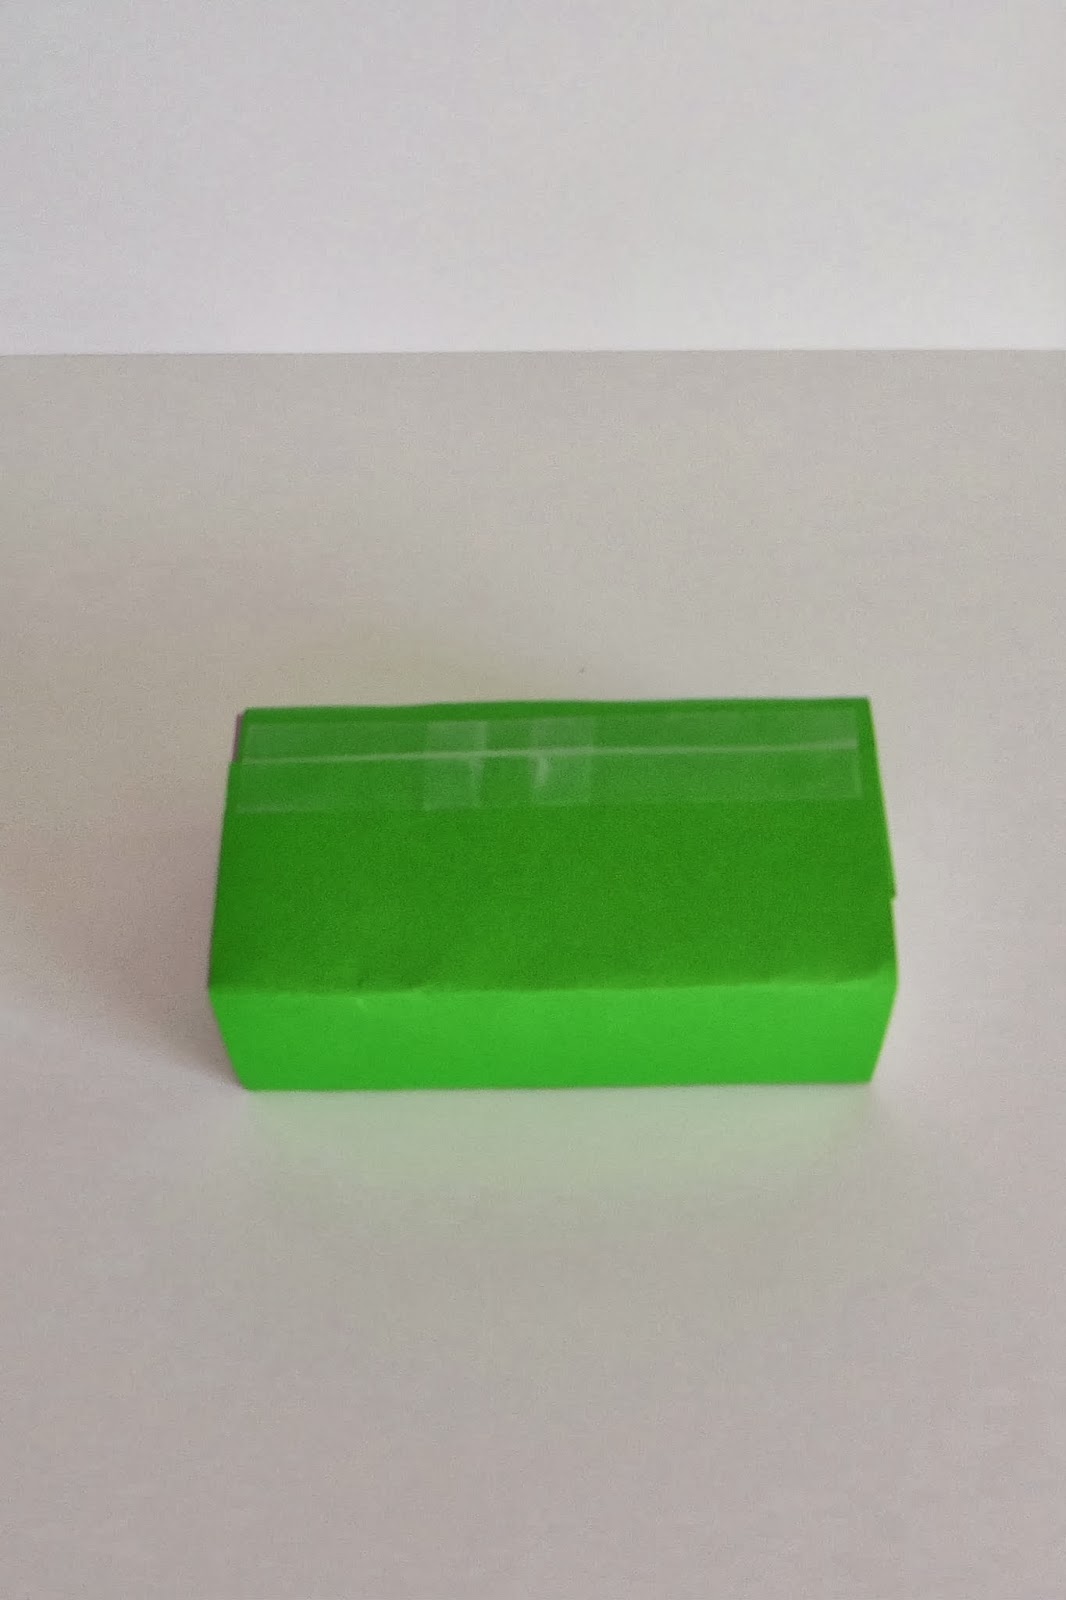
Step 1:
Remove
the attached drinking straw from the juice box.
Cut out shapes for the fox's ears, tail, stomach (large heart), nose, and eye mask (teardrops).
Step 2: Place
juice box on top of card stock to make a
template. Using a pencil, lightly mark the width of the juice box. Remove the
box and use a ruler to draw straight lines to create a rectangular shape long
enough to wrap around the entire outside of your juice box.
Step 3: Cut out rectangle.
Step 4: Tape
one end of the rectangle to the juice box and wrap card stock around the outside of box.
Step 5: Use
your fingers to create a crease at each corner of the juice box. This will
insure a close fit.
Step 6: Attach
tape to secure the other end of the card stock to the juice box.
Step 7: On
the front of the box, attach eye mask teardrops, nose, wiggly eyes, ears, and stomach. Attach the tail to the back of the juice box, but be sure it's visible from the front.
Enjoy!


