
This was my favorite part of the Eat Before You Treat table display and I absolutely could not wait to post pictures of these cute little "monsters". I hope you have as much fun making them as I did!

Materials:
Juice
boxes
Card
stock
Self
adhesive wiggly eyes
Glue
dots (removable adhesive dots)
Tape
Ruler
Pencil
Scissors
Step 1:
Remove
the attached drinking straw from the juice box.
Step 2: Place
juice box on top of card stock to make a
template. Using a pencil, lightly mark the width of the juice box. Remove the
box and use a ruler to draw straight lines to create a rectangular shape long
enough to wrap around the entire outside of your juice box.

Step 3: Cut out rectangle.
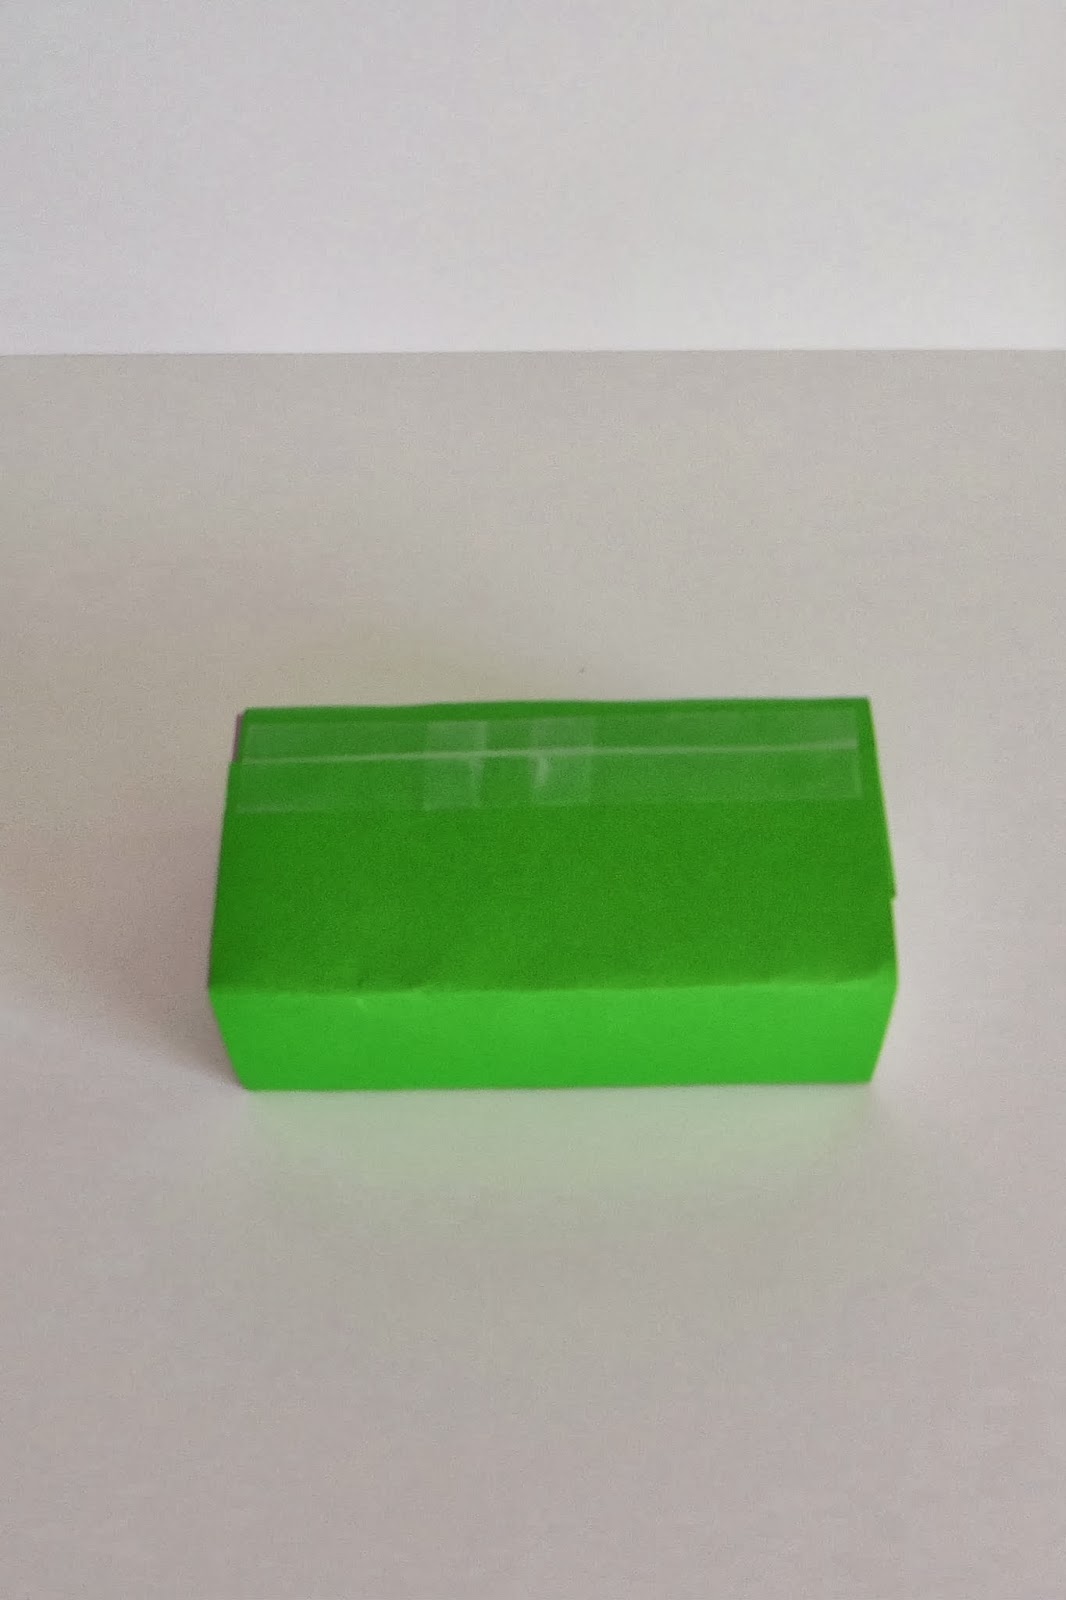
Step 4: Tape
one end of the rectangle to the juice box and wrap card stock around the outside of box.
Step 5: Use
your fingers to create a crease at each corner of the juice box. This will
insure a close fit.
Step 6: Attach
tape to secure the other end of the card stock to the juice box.
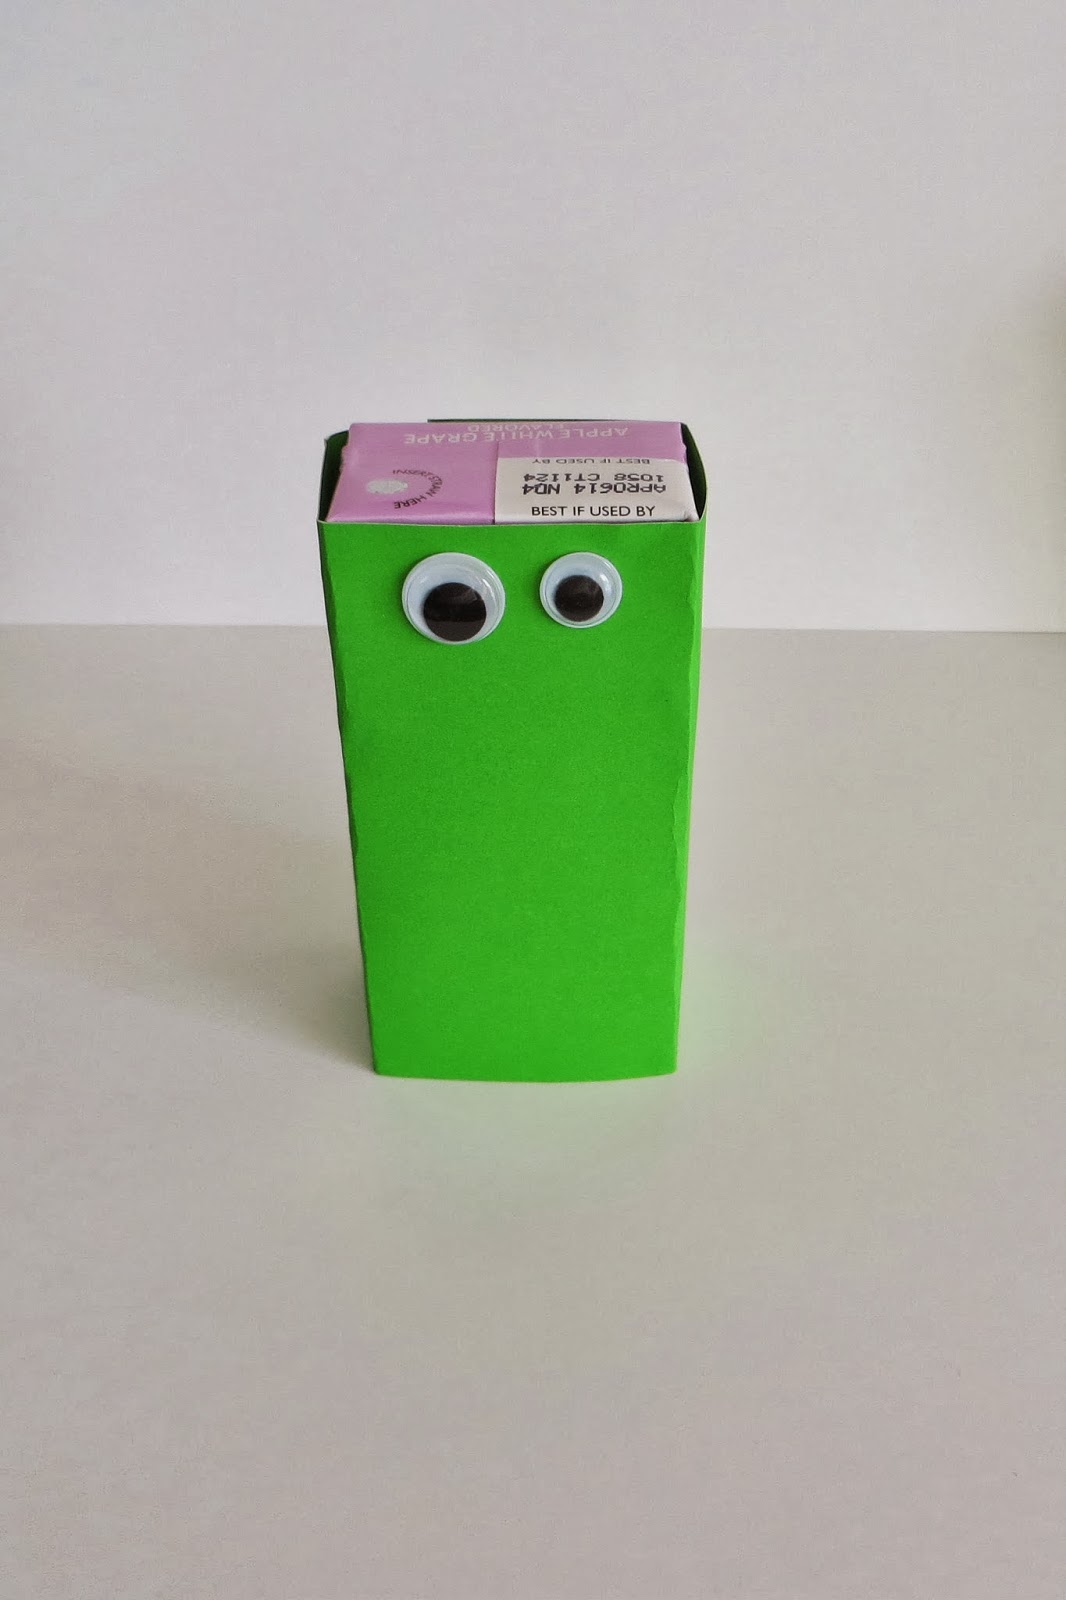
Step 7: On
the front top portion of the box, attach wiggly eyes. Use different sizes and quantities
to create "little monsters".
Step 8: Place
two glue dots on the side of the juice box (top and bottom).

Step 9: Attach
a silly drinking straw to the glue dots.

Enjoy!
If you like these juice boxes, then check out the matching tablescape and paper circle garland.
If you like these juice boxes, then check out the matching tablescape and paper circle garland.
These are adorable!!! Where did you find the straws? They are perfect :)
ReplyDeleteThank you! I found these particular straws from Walmart, but any fun straws would do the trick.
ReplyDelete