If there's one thing I'm short on it's time. My to do list is never ending; as soon as I scratch off one task, another is added to take its place. With most events I host, it comes down to two things: time and money. If I want to save money on a party, then I need time to create decorations, activities, and menu items. If I don't have the time necessary, then I have to accept spending more money. So it comes down to this question: how do I do both? Well, that my friends is not an easy task but I do have a couple tricks I'll share with you.
Trick #1: An Alternative to Tablecloths
I love using a fabric tablecloth, but they are expensive and I can rarely find exactly what I have envisioned. The next option is to buy the material and hem the edges, but this takes time (although it's not too time intensive, it does take awhile to dig out the sewing machine, set it up, and get to work). To save money and time, I simply purchase a twin sheet (you can find an array of colors at Wal-mart for $5). I cut off the tag and bam. Done. It's already hemmed, ready to go, and is a fourth of the cost of a brand new tablecloth. If you find a great deal on material, but still don't have time to hem it, then use double sided tape to "hem" the edges. No one will ever know the difference. Just remember to remove it before washing (I've made that mistake a few times).
Trick #2: Use Paper as a Substitute for Painting
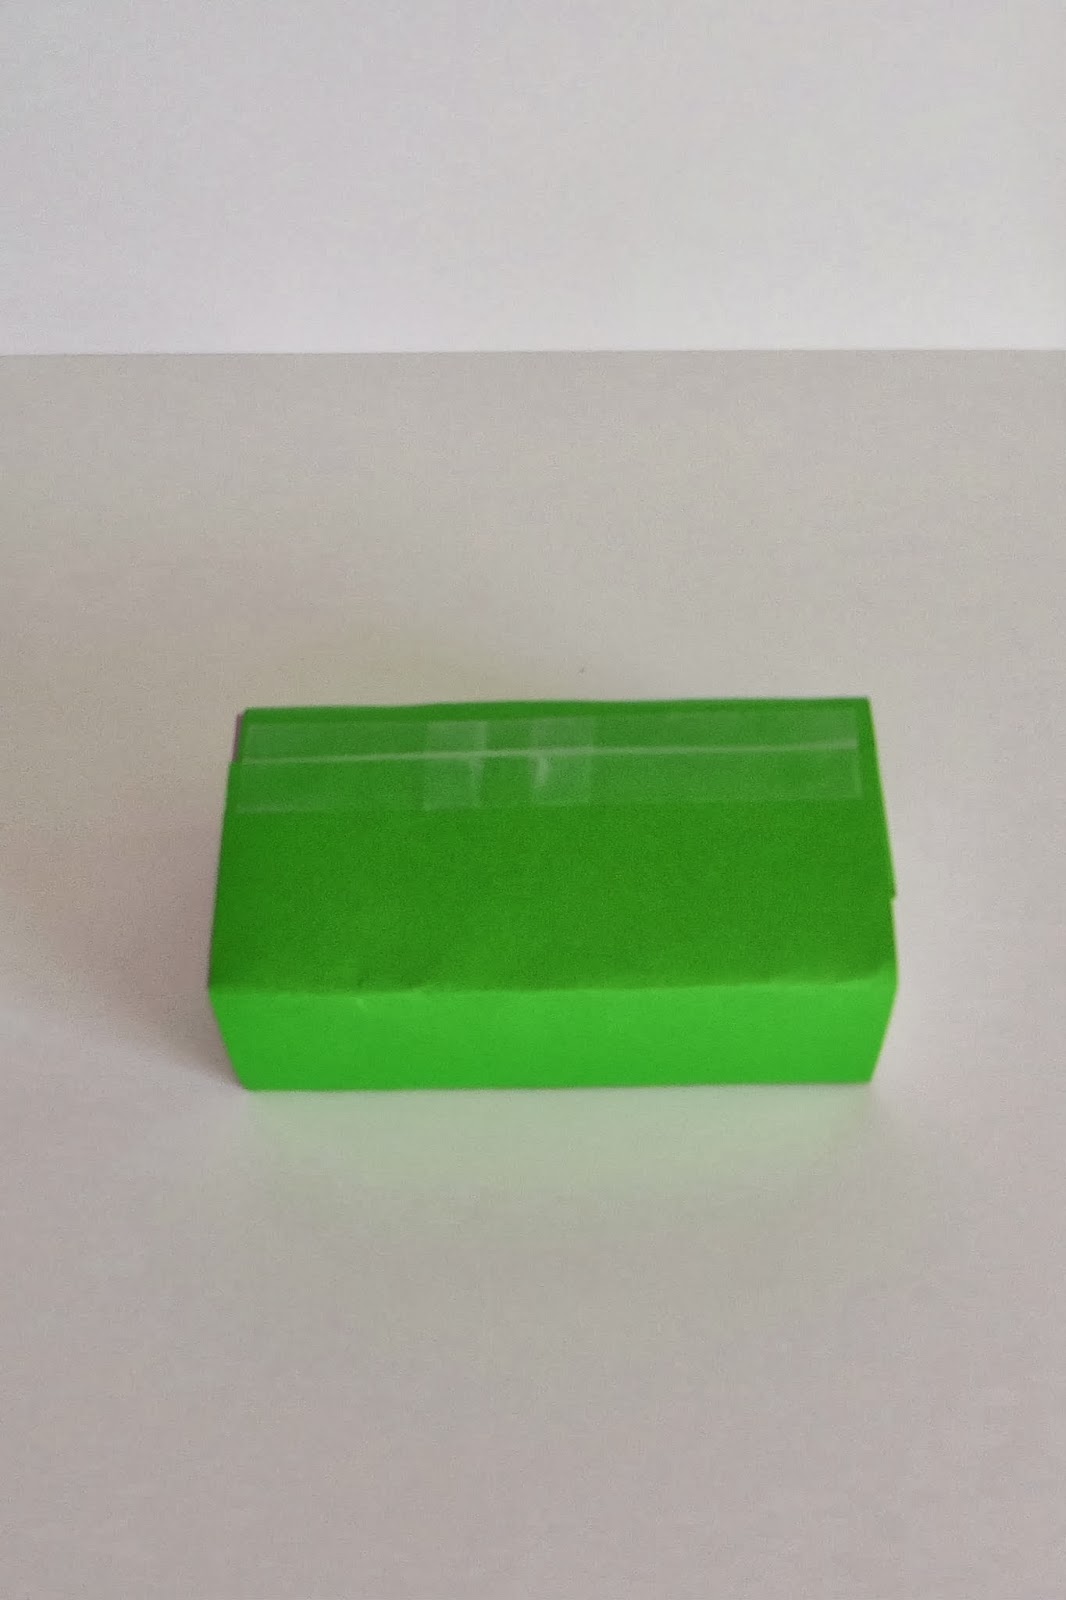
I love to paint. And by "paint" I'm not implying that I'm Vincent van Gogh, I'm talking about the mindless painting of my latest craft project, that's relaxing and takes absolutely no effort or mind power. However, this does in fact take time. Not only do I have to set aside time to paint, but it also has to be while my boys are napping or after they've gone to bed. Otherwise, they will insist on being included and my relaxing evening of mindless painting is quickly turned into a paint drumming club night straight out of Miss Congeniality. My solution: cover it in paper. This is not always applicable to every project, but it's been my go to for several decorations. I simply use craft glue to adhere the paper to my project's surface. My guests never noticed that I didn't hand paint each wooden letter or canvas. The desired look is the same and it saves me time and money, depending on the price of paint and supplies.
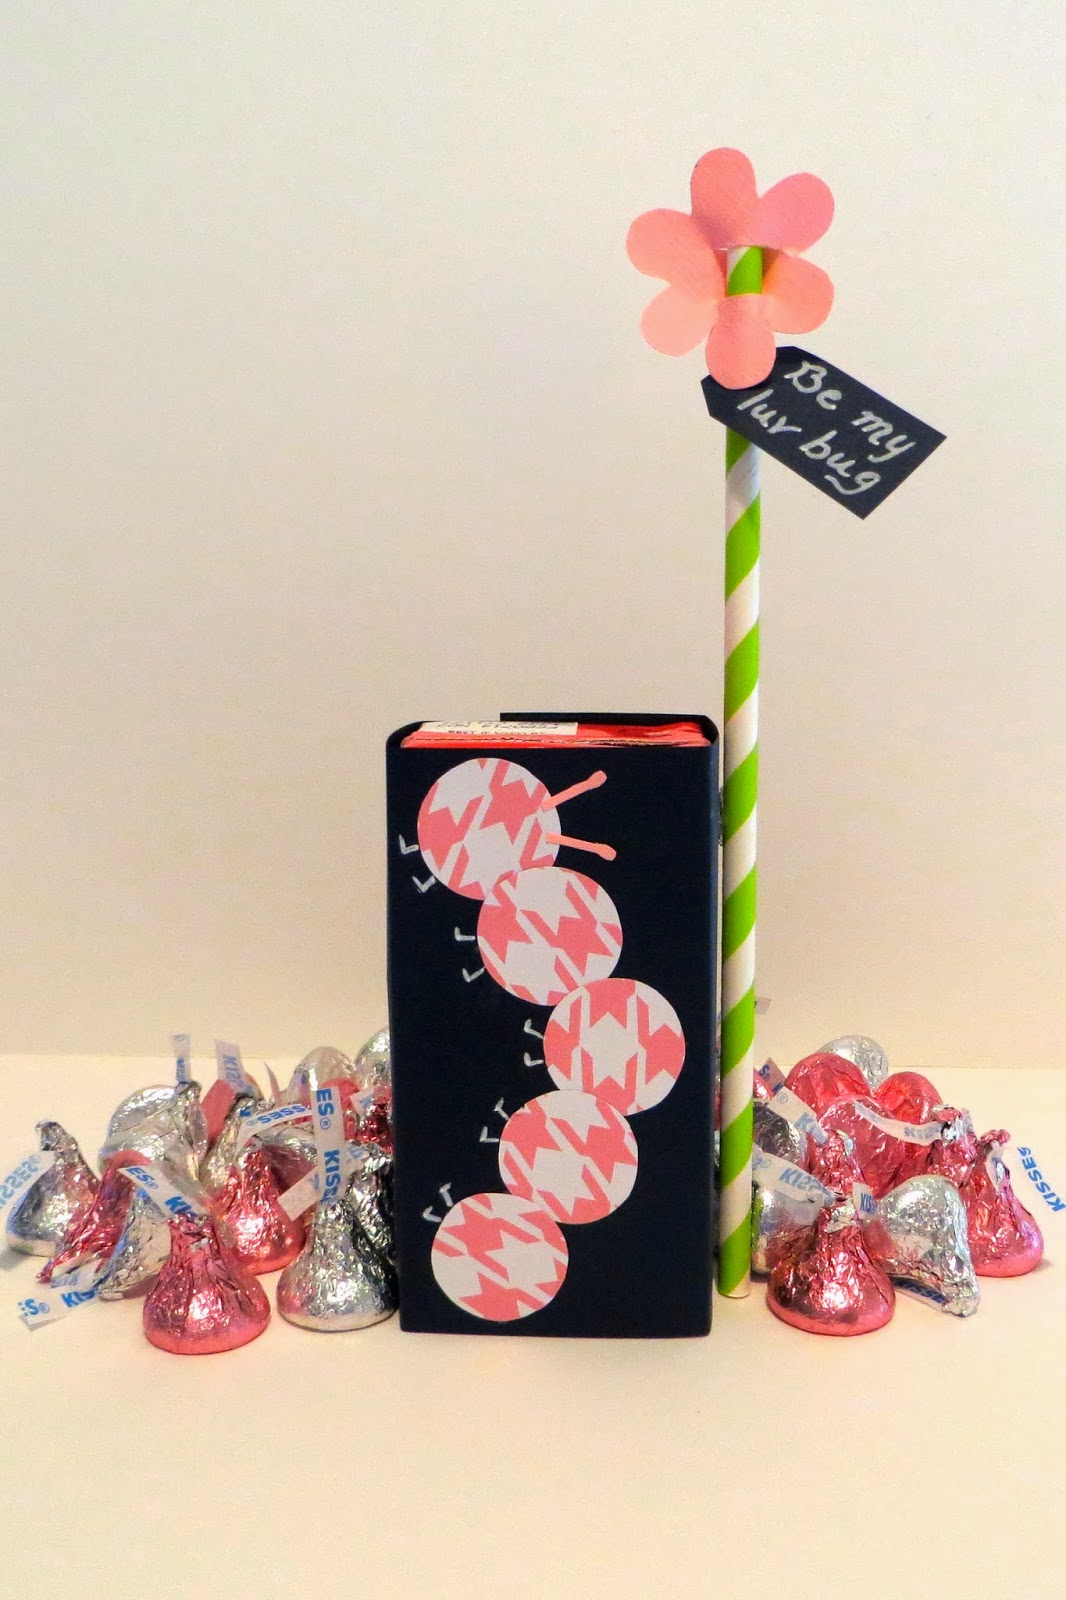
Trick #3 - Dress Up Store Bought Food
I used to make all the menu items for a party myself. I ended up spending most of my time in the kitchen instead of with my guests and knowing that I had so much on my plate (no pun intended) was a huge stress. Now, I split my menu in half. I make half the food myself, which allows for less time in the kitchen, saves on the total menu costs, and gives me the opportunity to showcase my favorite recipes. The other half of the menu, I purchase. However, I love to dress up store bought food. This gives dishes a homemade feel and makes them more appealing. I skewer cut up fruit from the market for an easy serving dish and divide bags of candy, popcorn, etc. among small baking cups, perfect for a single size serving.


I hope some of these tricks will help you with your events. Please feel free to share some of your own tips. We'd love to hear your ideas!
read more "Time Saving Tricks for the Everyday Hostess "
Trick #1: An Alternative to Tablecloths
I love using a fabric tablecloth, but they are expensive and I can rarely find exactly what I have envisioned. The next option is to buy the material and hem the edges, but this takes time (although it's not too time intensive, it does take awhile to dig out the sewing machine, set it up, and get to work). To save money and time, I simply purchase a twin sheet (you can find an array of colors at Wal-mart for $5). I cut off the tag and bam. Done. It's already hemmed, ready to go, and is a fourth of the cost of a brand new tablecloth. If you find a great deal on material, but still don't have time to hem it, then use double sided tape to "hem" the edges. No one will ever know the difference. Just remember to remove it before washing (I've made that mistake a few times).
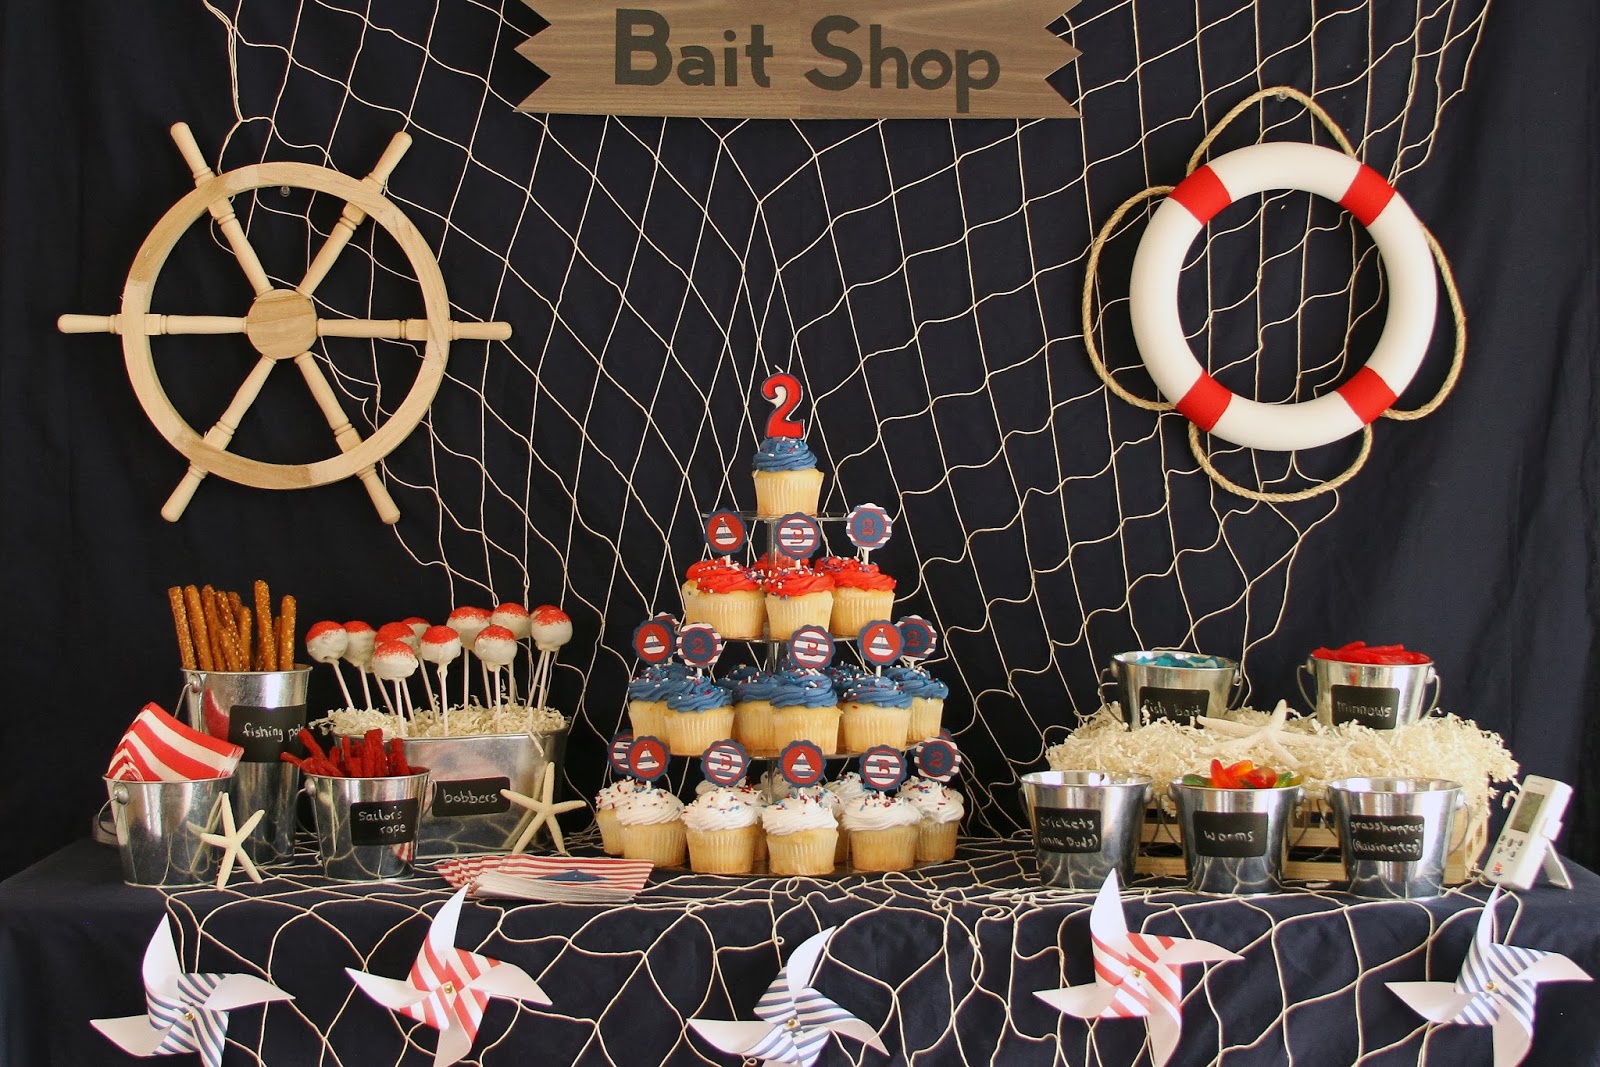 |
| Under the natural fish net, this dessert table was covered with a navy twin bed sheet. |
I love to paint. And by "paint" I'm not implying that I'm Vincent van Gogh, I'm talking about the mindless painting of my latest craft project, that's relaxing and takes absolutely no effort or mind power. However, this does in fact take time. Not only do I have to set aside time to paint, but it also has to be while my boys are napping or after they've gone to bed. Otherwise, they will insist on being included and my relaxing evening of mindless painting is quickly turned into a paint drumming club night straight out of Miss Congeniality. My solution: cover it in paper. This is not always applicable to every project, but it's been my go to for several decorations. I simply use craft glue to adhere the paper to my project's surface. My guests never noticed that I didn't hand paint each wooden letter or canvas. The desired look is the same and it saves me time and money, depending on the price of paint and supplies.
 |
| These paper covered letters were the center of a Pickles and Ice Cream baby shower buffet. |
 | ||
| The red canvas above was covered with red wrapping paper, saving time and money. |
Trick #3 - Dress Up Store Bought Food
I used to make all the menu items for a party myself. I ended up spending most of my time in the kitchen instead of with my guests and knowing that I had so much on my plate (no pun intended) was a huge stress. Now, I split my menu in half. I make half the food myself, which allows for less time in the kitchen, saves on the total menu costs, and gives me the opportunity to showcase my favorite recipes. The other half of the menu, I purchase. However, I love to dress up store bought food. This gives dishes a homemade feel and makes them more appealing. I skewer cut up fruit from the market for an easy serving dish and divide bags of candy, popcorn, etc. among small baking cups, perfect for a single size serving.


I hope some of these tricks will help you with your events. Please feel free to share some of your own tips. We'd love to hear your ideas!